

General Care & Preparation:
- Unwrap the product and check for damage. Any window sustaining structural damage cannot be installed. If damage is found please contact Kohltech to see if the product can be installed.
- Do not lean or stack products together outside as the glass can magnify the heat of the sun and may cause the product to warp.
- Measure the product to ensure it will fit into the opening properly. For renovation do not remove the existing product until the new product is verified to fit.
- Use extra care when installing below 5°C/45°F and avoid impact to frame, sash, and brickmould.
Rough Opening Preparation:
- If the sill of the rough opening is flat then a back dam is required. A sloped sill can be added to avoid using a back dam. Kohltech recommends a 5-7 degree slope.
- Sub-sill flashing is required along the whole length of the rough opening sill and at least 6 inches up each jamb. It is recommended to use a self-sealing flashing membrane or liquid applied membrane.
- For nailing fin and brickmould applications use sealant around the rough opening; continuous on the head and jambs but intermittently at the sill.
- If there is a weather-resistant barrier (WRB) or house-wrap surrounding the rough opening ensure the section above the head of the rough opening is cut and folded up and taped until after the window has been anchored and flashed. Cut the WRB so that it can be flipped four to five inches and tape above the rough opening.
Anchoring & Shimming:
- Shims shall be large enough to support the window under load and be made of plastic or treated wood; they should not be a continuous piece or a material that is impacted by standing water (ie. OSB). Minimum to maximum rough opening offsets are ¼” to ¾” per side.
- Shims should be used along the sill and up both jambs of the window. Shims are required underneath mullions for support. Casement and awning operators are to be shimmed underneath and then a long screw applied down through the operator into the self-sealing sill flashing of the rough opening.
- Once the window is in the opening check level, square and plumb. Use the longest level that will fit the window being installed. Kohltech recommends the use of laser levels, especially on larger units.
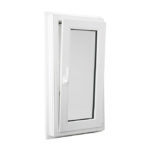
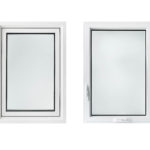
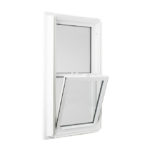
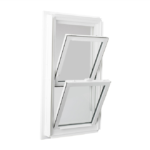
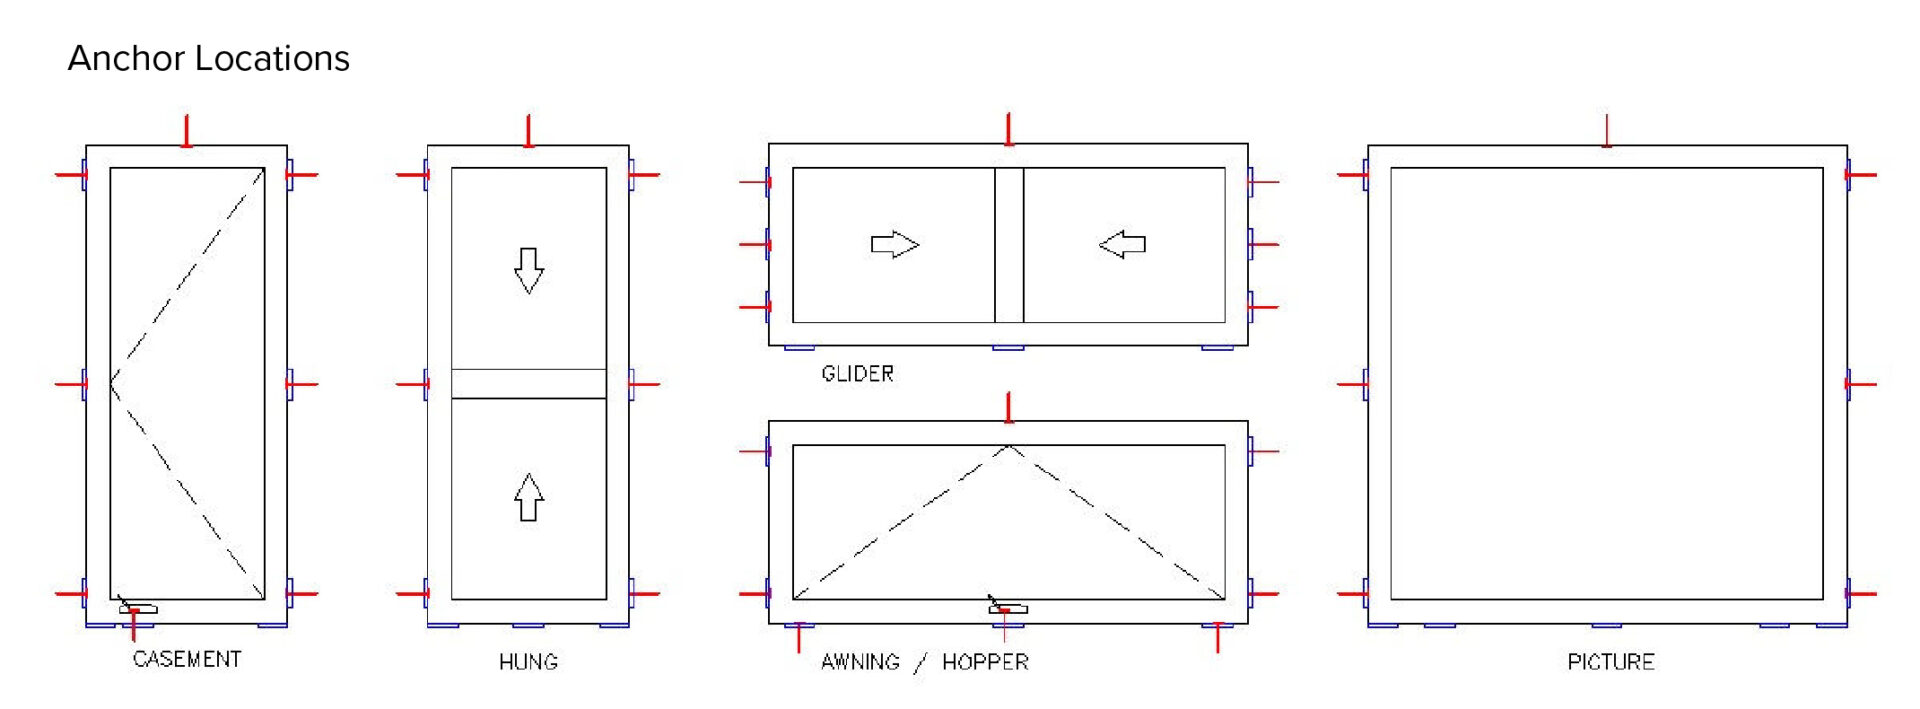
- Anchor product as per thumbnails below. Do not anchor product within 4 inches of a corner.
- Windows with 3-1/2”, 3-1/2” 180, or any extended brickmould cannot be installed by nailing fin alone.
- All painted and foiled products cannot be installed by nailing fin or brickmould alone.
- Anchor through pre-drilled installation holes with screws provided.
- When applicable cover exposed screw holes with the vinyl screw hole caps provided. Use a dab of caulking prior to inserting the cap to prevent air leakage. For installation holes underneath the glazing, stops reinstall stops using a rubber mallet.
- Screws through renovation brickmould must be sealed with caulking.
Exterior Flashing & Insulating & Air Sealing:
- The exterior of the window shall be sealed to the weather-resistant barrier (WRB) or house wrap. This can be done on either the exterior or interior perimeter of the window. The exterior method is generally a flashing membrane (water impermeable) where the interior perimeter (backside of the nailing flange) of the frame is done with a sealant. When using the flashing membrane, tape over the jambs and head, lapping the head flashing over the jambs by 2 to 3 inches. The jamb tape should travel past the bottom of the sill flashing membrane by 2 to 3 inches. If the WRB is already installed, the area above the head of the window must be peeled back and taped up until the sealing (taping) is complete and then taped down onto the flashed window.
- Insulation, whether batt or foam, must extend to at least the plane of the exterior glazing. Batt insulation must be packed loosely. Packing batt insulation tight will impact its effectiveness. The insulating foam must be a low expansion or low pressure and installed in a manner that does not distort the frame. The insulation must encompass the entire perimeter between the rough opening and the window.
- There must be a continuous air seal between the window and the rough opening. For new construction, the vapour barrier can be taped to the window edge. For new construction and renovation, a closed-cell foam backer rod and sealant can be used between the window and rough opening NOTE: The air seal should be attached to the window frame and not the jamb extension. If attached to the jamb extension, place it as far to the exterior as possible. Insulation can be done to the exterior and interior of the air barrier.
- Ensure a proper drip edge is installed over the head and sill of the product where code dictates.
Installation of Exterior Trim & Cladding:
- Caution must be used when installing siding against brickmould. There are air vents drilled into the edges of the profiles to allow air movement within the chambers. Should these be blocked by caulking or other materials, the warranty will be void.
- The joints between the window or door and the masonry, decorative or siding material must incorporate an adequate gap. Please allow a ¼” gap per side for window and door dimensions up to 4 feet and an additional 1/16” per foot thereafter. This is to allow for thermal movement between the window and the building cladding.
Maintenance:
- Check drainage channels annually and ensure they are kept clear of any obstructions.
- Clean vinyl PVC by wiping with damp cloth using normal domestic washing fluids.
- Operating hardware should be kept clear and clean of obstructions (dust, drywall dust, etc.) and be lubricated annually.
NOTE: Refer to local building code for additional installation requirements. Refer to CSA A440.4: Installation of Windows, Doors and Skylights.